

Not So Cold Shoulder Hack - Bishop Sleeves
- Kendel Walker

- Jan 17, 2020
- 1 min read

Never in my life had I made a Bishop Sleeve until a couple months ago, it was love at first wear! When the "Not So Cold Shoulder" went into testing I thought, how great would it be with a Bishop Sleeve? The answer is, amazing!
Adjusting an existing sleeve is easy and the finished look is worth it. Let's get started!
Print your pattern per instructions, making all grading and adjustments you normally would including adjusting for height.
Set aside front, back, neckband, cuffs and optional bra pattern pieces. We will only be working with the sleeve pieces.
I found the "long sleeve" option to work best for this hack, it creates a good drape when the sleeve is finished.

Measure the bottom edge of your sleeve, mine is 8" (size 8). Divide by 2 and mark that to each side of sleeve bottom.

Using a straightedge, connect the point at the Armcye to the new point you just made on each side.
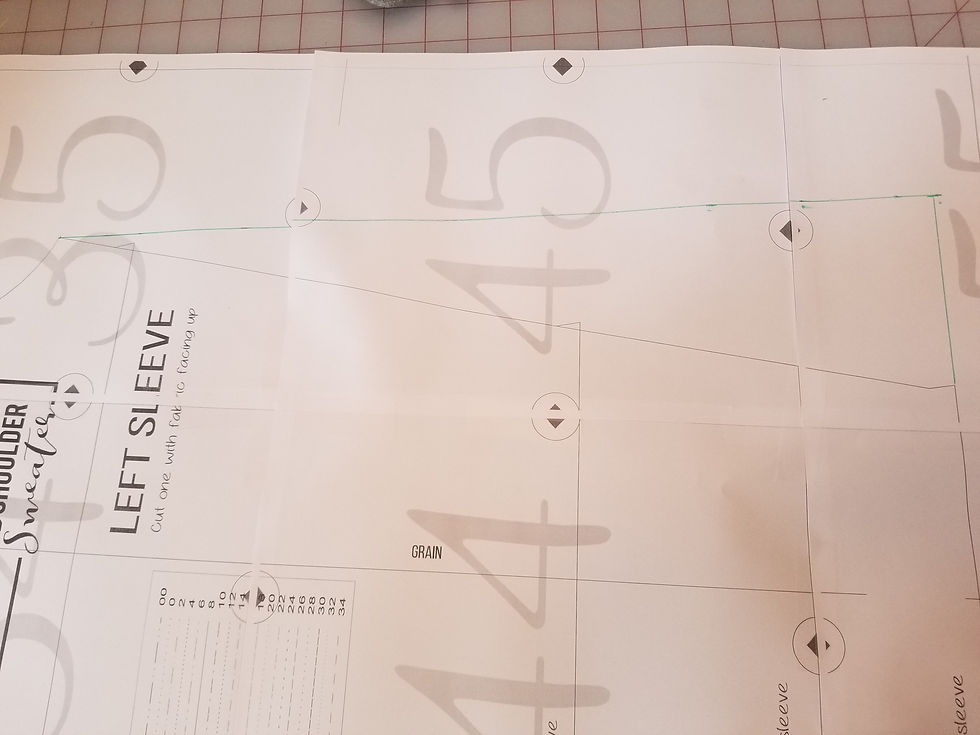
The sleeve will now have a slight bell shape to it, with the wider end being the cuff end. You can now repeat for the second sleeve and cut out pattern pieces and all pieces from fabric.
Construct the pattern per instructions until you get to finishing the sleeves.
Run a gathering stitch 1/4 inch from sleeve edge.

Gather the sleeve until it is the same size as the cuff.
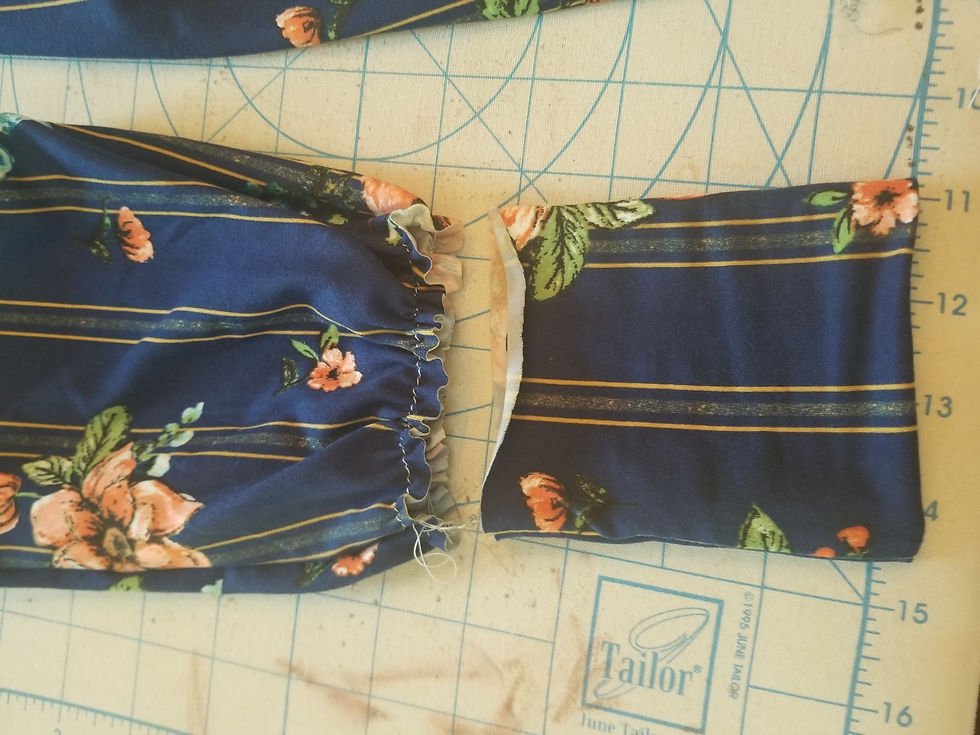
You can now attach cuff per instructions and repeat with other sleeve.
Now you have beautiful Bishop Sleeves! Show them off, we wanna see them!


Comments