Sew along with ALD: Marina Tank
- Sarah Kaprelian
- Aug 25, 2020
- 3 min read
Updated: Aug 28, 2020
Welcome to the Amelia Lane Designs sew along for their newest pattern the Marina Tank! This tank is so versatile coming in 5 different length options. As always, there is a whole blog series to check out for all the hacks the amazing sewists have come up with!
My name is Sarah, and I will be leading your sew along this week. There will be daily posts in the group, as well as a blog post for each day with more information. You can choose to sew up the tank as is, or check out the multitude of hacks, and use one of those for this SAL!
Let's jump in!
Day one: Pattern Prep
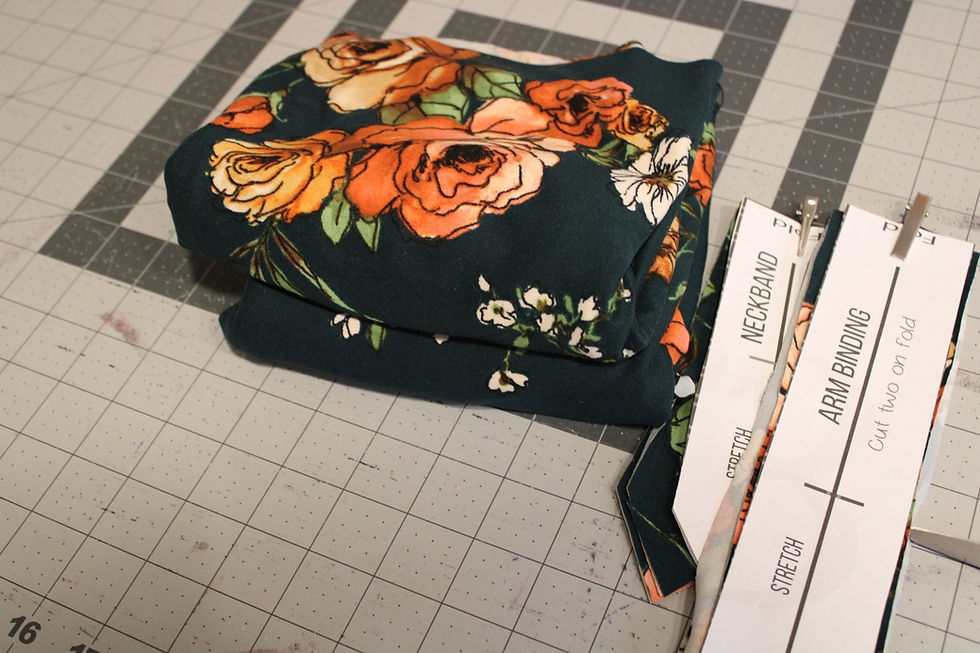
Today is a pretty light day, we will be prepping our pattern and fabric. You will want to choose your size(s), and select just those layers to print so it's easier to see when you cut out. I love ALD patterns because I've only had to grade one size, where other companies I have to grade in, out, in, out....

If you are printing, and not using a projector, when assembling your pattern, you will want to match up the "raw" edge to the light grey line on the previous paper. This is how a lot of "no-cut" patterns are assembled as well. You will go ahead today and choose the length option. For this one, I chose the maxi length. You will also cut out your pattern in preparation for tomorrow. If you haven't pre-washed your fabric, go ahead and do that today as well so you're ready to go for tomorrow! Join me back here tomorrow to cut our fabric!
Day two: Cutting fabric
Today is another pretty easy day, we will be cutting our fabric.

My biggest tip for today is starting with your fabric fully unfolded and fold over towards the middle just enough for your piece. This will help you conserve fabric, so you have more for later projects!

Today is also a great day to get ahead if you feel so inclined! Tomorrow we will be
working on the optional kangaroo pocket and the shoulder seams.
Day Three: Shoulder seams and optional pocket Today we will be constructing the shoulder seams and the optional pocket.
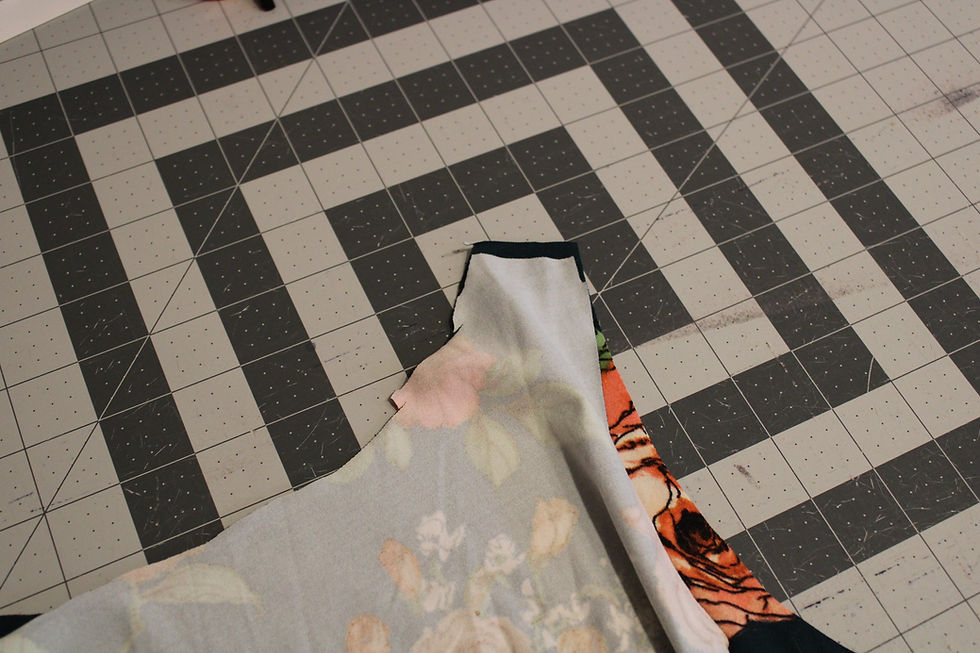
Shoulder seam construction is pretty standard on this piece. You will lay your shoulders right sides together, clip or pin and then sew.

Since the front and the back are the same piece, I take this time to denote which I'd like to be my front and my back so that I can add a tag with my neckband. For the optional pocket, you're going to fold the angled (side) edges in one inch, and then top stitch. The top and bottom edges are going to be turned down 1/4 inch and top stitched as well. Then you will line up the pocket with the pocket placement markers and stitch it in place. I like to either use wash away hem tape or a glue stick to help make sure my pocket doesn't move around. Tomorrow we will be working on the neckband construction and side seams! As always if you have any questions, please do not hesitate to comment here on the blog, or in our group an someone will be able to help you!
Day Four: Neckband and Side Seams
Today we will be tackling the neckband and side seam construction. The neckband may look challenging, but it's actually quite simple! I love when complicated looks turn out to be easy peasy.
My number one tip for today is to make sure to PRESS your neckband pieces! It really does make a world of difference.

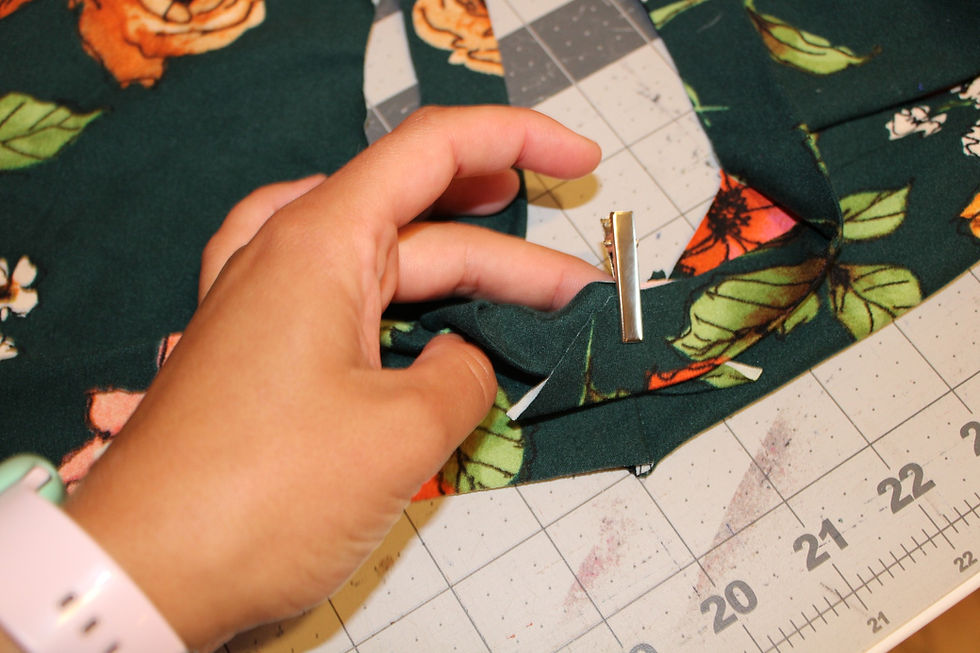
Where the slant starts, you're going to place each side of that on your shoulder seam as seen in the picture. You will want to clip that section on. If you're feeling a little nervous, go ahead and baste that down too so it doesn't move when you go to sew the whole thing on! Next you're going to repeat the same exact thing with the other neckband piece.

They will overlap a touch, but that's what creates the envelope neckline look! Again, feel free to baste that down so it doesn't move. Now you'll want to sew the whole neckband down as you would with any other tank or shirt you're making. Taking time and consideration to catch those little ends in the seam if you didn't baste.
Finally today, we are going to sew our side seams! This is pretty straight forward. Lay your front and back pieces right sides together and clip along the side seam. Then you will sew that seam.
Our Marina's are almost done! Tomorrow we will be attaching the arm bindings and hemming.


Comments