

Not So Cold Shoulder Hack - Dress and Lined Flounce
- Jan 18, 2020
- 2 min read

Hi,
I'm Laura from KittyMakesIt.com I'm sharing my method for extending the Not So Cold Shoulder Sweater to Dress Length and adding a lined flounce to the sleeve.
Dress Length - Mash with Dream Tee

Using the readied pattern pieces (I added a vertical FBA by adding my length in the bust rather than waist and graded out for my size larger hips).

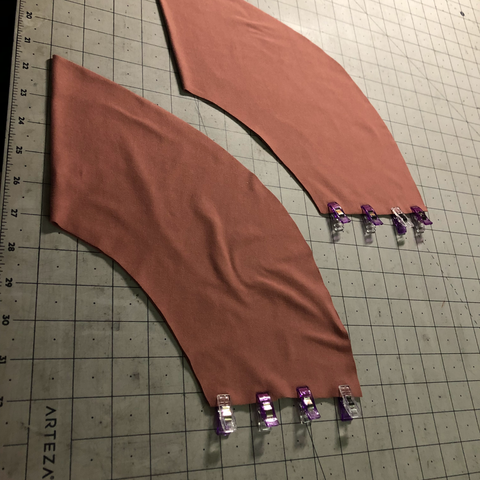
Fold the NSCS pattern piece in half and line the Dream Tee pattern piece up on the fold. Choose your skirt length. If you have the whole Dream Tee pattern piece, you could line up the shoulder/necklines to check finished length. I only reprinted the bottom of the Dream tee, so I used the tee length curved line as a reference point. I lined up the bottom of the NSCS hem with the side hem on the dream tee. So you can see, I'll need to grade the NSCS bodice out a little bit to have a smooth transition. This will give me a more flowy fit, I could slim the Dream Tee skirt if I had wanted to keep the slimmer fit.


Now that I know what length skirt I'll need, I'm going to trace it onto folded paper so that I'll have a pattern piece I can cut laid flat since the NSCS is not cut on the fold like the dream tee.

TIP: I borrowed this idea from Kendel. The NSCS is the same from the bust down, so if you only wanted to cut one skirt piece, you could stack the front and back bodices and just fold one down to cut, then fold the other down to cut. Make sure they're both facing up.

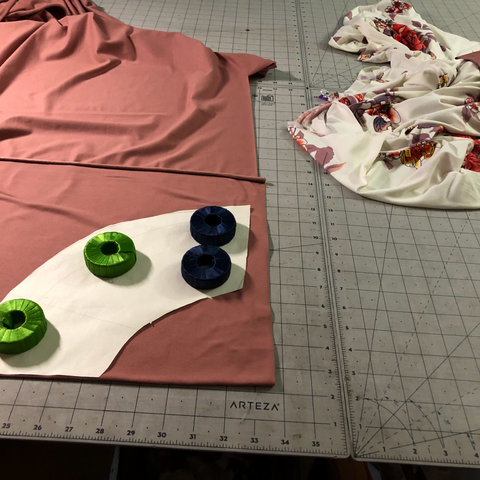
I decided to put "Warm Shoulders" on my NSCS Dress so I used Emily's hack and cut my pattern pieces on the fold so I would have two of the higher shoulder. I also cut mirror images of the taller sleeve. Here's my layout:

From there, I followed the assembly instructions in the tutorial (except measuring my own neckband at 85% per Emily's tutorial). I Hemmed the dress about an inch. I like a large hem, I think it helps it hang nicer. I top-stitched the neckband but did not finish the 3/4 sleeves.
Lined Flounce
During my Dream Tee flounce hack I created three lengths of flounces. I was able to use the middle length for this project so that I didn't have to remeasure. See that post for details on how I measured my sleeve opening to make a flounce piece.


I cut my flounces on the fold to make it easier, but in the round would work also. Because I cut on the fold, I had to sew the sides. I cut two in each color.


Then I put them right sides together and sewed around the edges.

I used a turning tool to poke the edges out so they'd lay nicely.

I put right sides together with my 3/4 sleeve wrist opening and sewed around.
That's it! No sleeve or flounce hemming required and the wrong side of the fabric doesn't show in the flounce!

Fabric is Odessa Brushed Poly and Mauve Solid Brushed Poly.
Don't forget to check out all the other hacks we're featuring this week in the NSCS Hacks category on the blog.
Grab the patterns here:


Comments